This post is about how I acquired a big green egg and the process I went through while “resurrecting the egg”. I had lots of help between moving it, getting it fixed up and then actually starting it up.
Marcos gave me the egg. Kevin, Marcos and Mike all helped move it. Mike told me what needed to be fixed and then how to start it up. Thanks to all..
Background
While I have wanted a Big Green Egg for a while, I could never justify the cost. I purchased a pellet smoker instead, which has worked well. We have a friend (Marcos) who moved to Florida. He had a house in Prior Lake that he was renting out and had left a lot of his possessions in the house for the renter to use, including a Big Green Egg.
The renter struggled with the payments and eventually left but not before causing a lot of damage to the house and the stuff left in the house. Marcos then sold the house. This last week, he flew up here to remove his remaining possessions and then close. One of the remaining items was the Big Green Egg. So, I got a couple buddies to help and we moved the big green egg, some furniture, some planters and a bunch of the renter’s trash out of the house.
The egg had been abused. It was dirty, the firebox was broken, the grate was filthy and spark arrester was busted out. Marcos had no use for the egg so he gave it to me. So, now I had an egg and just needed to resurrect it back to a working state.
Repairs
One of my buddies (Mike), who helped with the move is a Big Green Egg aficionado. He quickly pointed out several things that needed to be replaced and/or repaired.
I started with the gaskets between the egg pieces. The old gaskets were dirty, torn or missing. I scrapped off the old gaskets, used a wire brush to clean the surfaces and then applied a new gasket to both halves, as shown in the next picture.

Next, the old spark arrester was busted out. So I swapped in a new one, which took about a minute.

The third step was to put in a new fire box and the rest of the guts. These just set into place.

When we moved the egg, we took it apart by removing the hinge. That was not easy and we ended up with the hinge in the open position. The hinge is spring loaded and there is no easy way to close it. After watching a couple YouTube videos I figured out that I could attach the hinge to the bands, then put the bottom band on the bottom half of the egg. With that done I used a crescent wrench to close the hinge. The next picture shows the bands attached to the bottom half of the egg before I closed it.

Once I had the hinge in the closed position, it was easy to attach the top band to the top half of the egg. With that done the only thing left to do was to put the plate setter and grate in the egg and attach the side shelves.
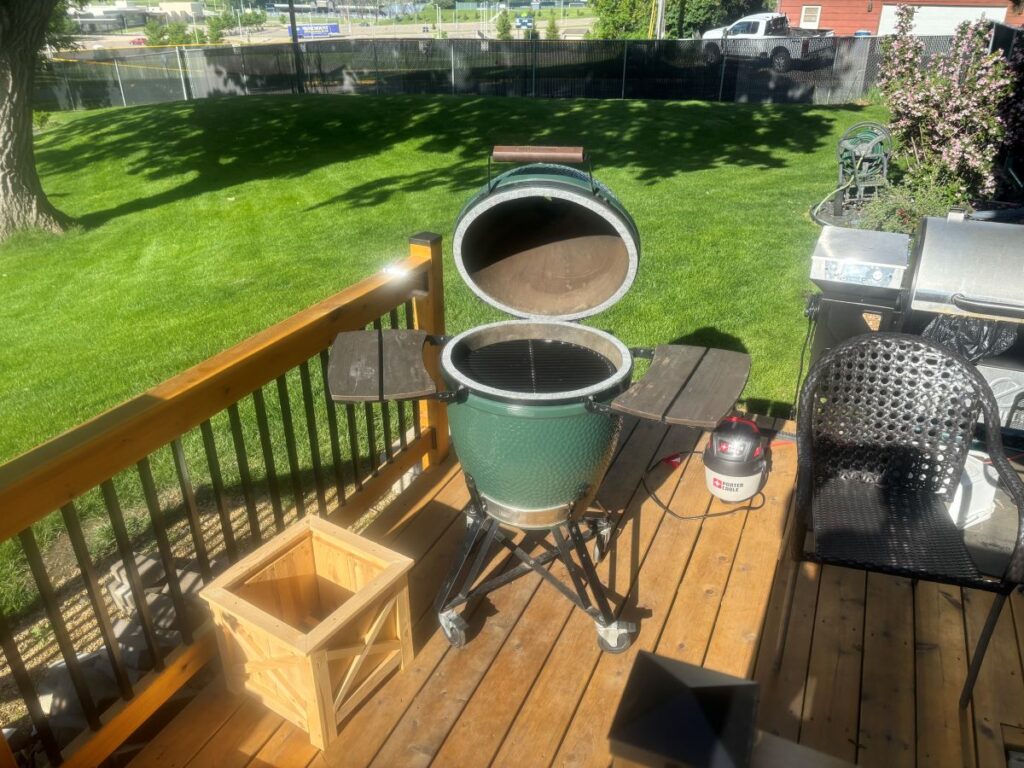
Rather than clean the grate, I opted to replace it with a new one. There was no plate setter, so I also bought one of those. So the egg was ready for a test burn.
Test Burn
Since I have the egg on a wooden deck I use a special grill mat under the egg. This protects the deck from any embers that might fall from the egg. I use the same type mats under the smoker and gas grill. I started the test burn process by loading the egg with lump charcoal.
Next, I lite the charcoal with a propane torch. It took a while because the torch kept going out. Eventually, the charcoal was burning well enough and I was able to close the lid. I adjusted the vents and got the temperature up over 550 degrees. Then I just let it burn. This should burn off any residual grease.
Summary
So, this is what was involved with “resurrecting the egg”. Thanks to Marcos, Kevin and Mike I now have an egg ready to use. Now I need to actually cook something on it.