To prepare, I had to first take down some art work, which was trivial. The biggest challenge was moving a cast iron piece of furniture that was sitting at the turn on the stairs.
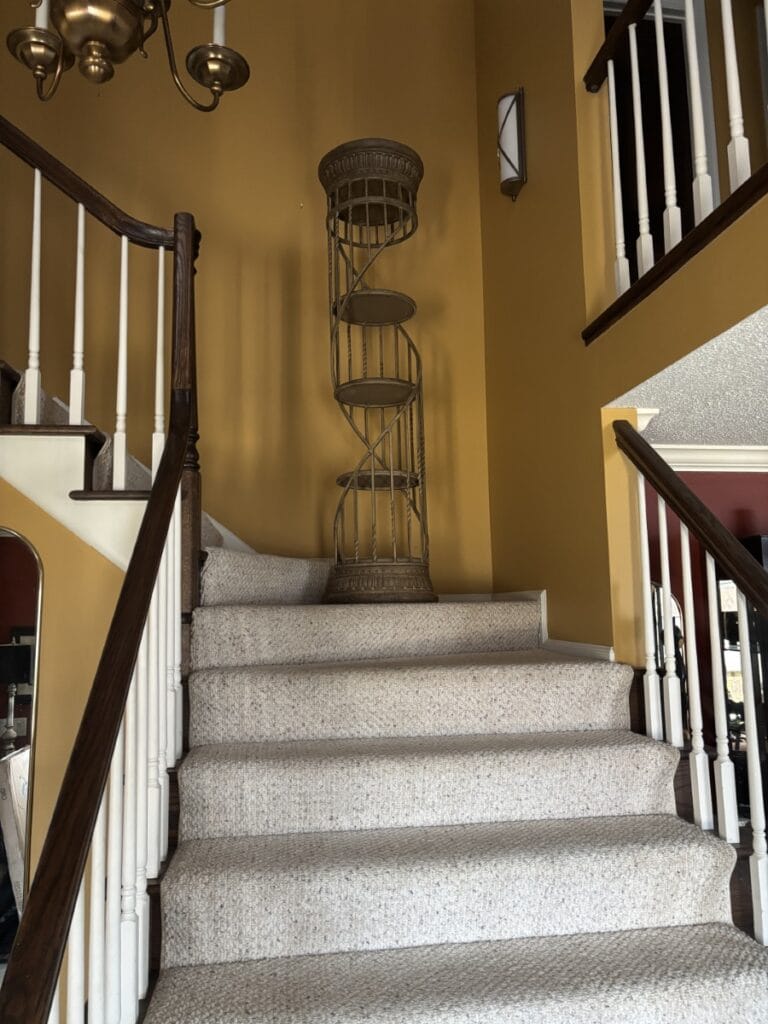
Fortunately, my daughter, her husband and the grand kids stopped by to deliver Girl Scout cookies. My son-in-law moved the piece for me.
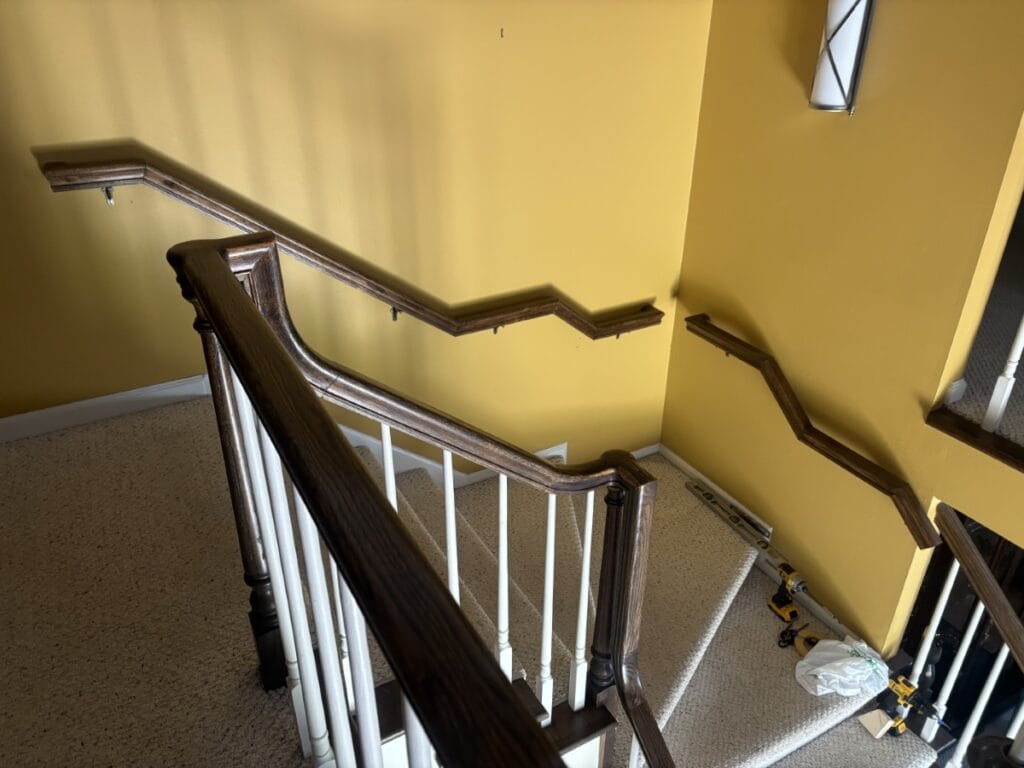
The next step was the planning. Originally, I thought that I could just mount a couple straight handrails. But as I researched it, I realized that it was going to be more complicated. It turns out that our stairs are built as “Winder” stairs, which means that at the turn there are multiple pie shaped treads. To keep the top edge of the handrail at code height and for the handrails to match the existing angles meant that the handrails would be more complicated.
I wanted the handrails to have the same profile and finish as the existing handrails. I was able to find oak handrail stock at my local Menards, although they were pricey.
Rather than take a chance on ruining the oak handrails I bought, I decided to first build prototype handrails using left over 2×4 scrap lumber. I am really glad I did because there was a lot of trial and error.
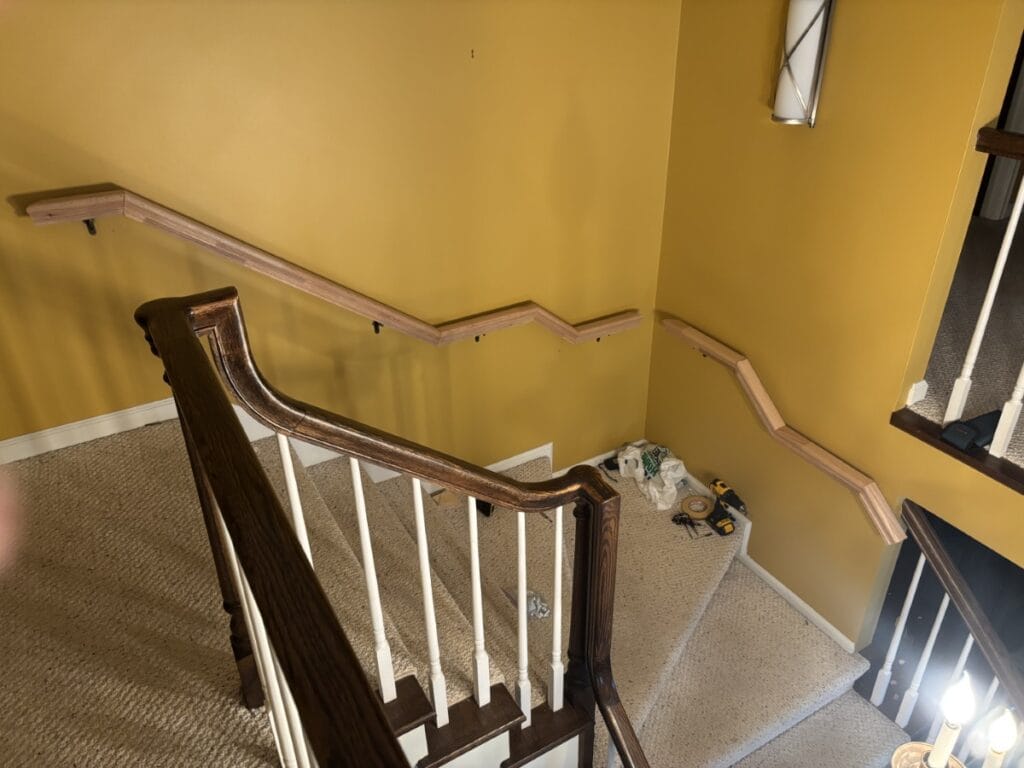
It took me over an hour to get the angle right for the first bend. Once I had that right then the same angle was used for the rest of the project. I then built the shorter handrail prototype and used double sided tape to stick it to the wall. That allowed me to back up and see how it looked.

Next, I built the second handrail, which was much longer. That went okay. Once both prototypes were built I mounted the brackets to the wall and the handrails to the brackets. With that done, I verified that everything was the right height.

With the prototypes finished and the brackets mounted it was time to build the real handrails.
The final fabrication was pretty easy. I was able to get the measurements from the prototypes. I had marked everything on the prototypes in terms of tops and bottoms and joints. I had also noted some minor modifications that I wanted to make.
Starting with the shorter prototype, I cut the oak stock to the correct length and angles. To connect the pieces and I used glue and “Spring Bolts“, which I discovered during my research. They worked really well. With the shorter rail handrail put together, I moved on to the longer handrail and repeated the process of cutting and connecting the pieces.
After the glue dried overnight, I mounted the unfinished handrails on the brackets to verify the fit. I did end up moving one bracket to better support part of a handrail.
The last step was to remove the handrails from the brackets so that I could finish them.
Back in the garage, I first used some sandpaper to smooth off any rough spots. Then I used a tack cloth to remove the dust. Next, I applied the first coat of stain, let it set, then wiped it off. The wood accepted the stain, although it was not dark enough.
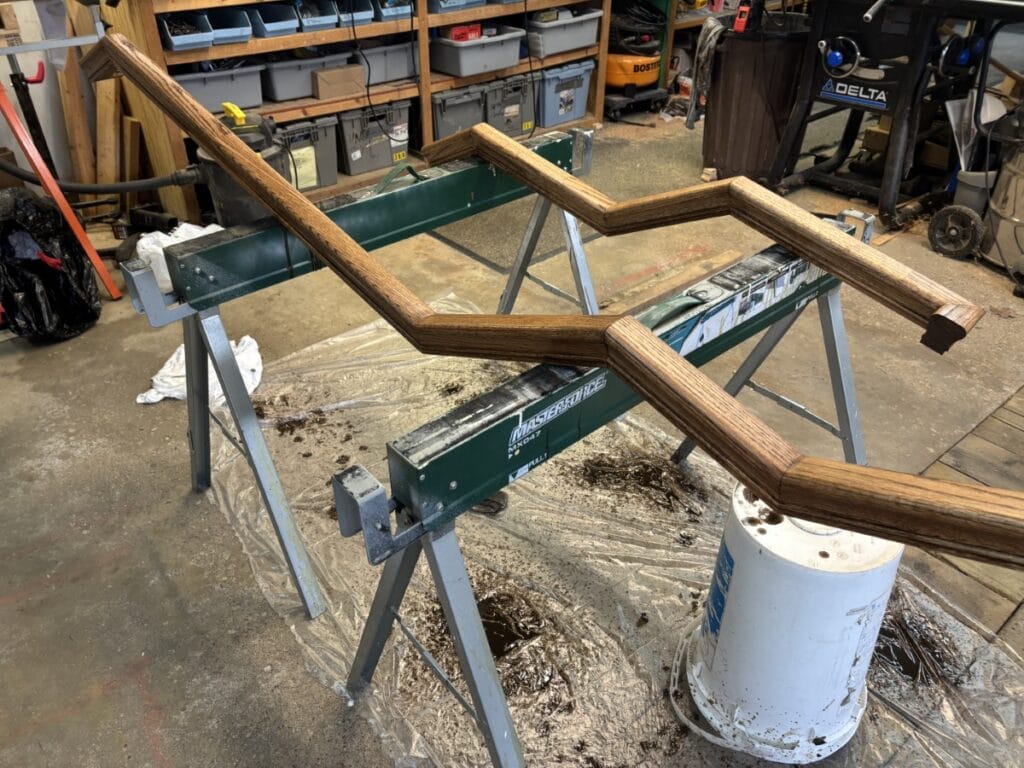
I repeated applying stain, waiting and wiping off. A little darker but still not enough. I added a third coat and just let it dry, without wiping. That was dark enough. I then applied several coats of spray poly urethane to seal the finish. The last step was to do the final install on the brackets and I was done.